Django under the hood provides an app called Admin a.k.a Django Admin, which provides Admin UI interface/web page for your Django Project. This admin interface can automatically generate CRUD views/ (form/tables) for your models with very minimal setup i.e (Registering your models to admin)
This Admin app is usually said to be one of the most powerful parts of Django
Let's deep to use Django Admin on our projects
Using Django Admin/ Registering Models
Creating a test Model named Information
 # inside your models.py file
 from django.db import models

 class Information(models.Model):
     name = models.CharField(max_length=100)
     date_of_birth = models.DateField()
     salary = models.IntegerField()
Don't forget to create migrations and then migrate
Registering your models to Django Admin
- Open up
admin.pyfile that exists in your app (when you create django app throughmanage.py startapp [app]command, you will automatically get this file along other files likemodels.pythat we have been using) To let Django Admin work for our models, we simply register our model class on this
admin.pyfile, by usingadmin.site.register()from django.contrib import admin from .models import Information # import your model admin.site.register(Information) # actual registration
- Open up
Create Superuser to login to Django Admin
- Because Django also contains a built in Auth/User app which we can use to manage users and authentication, we can easily use this to create our superuser/login mechanism and everything works like a magic
- You can always create a new
Userapp and authentication process, but we will leave that for another tutorial - On your shell, run
python manage.py createsuperusercommand - This command will ask bunch of questions to fill up the
User tablewith attributesis_staffandis_superuserset to True. This, attributes are the table columns - Django admin/UI login requires
is_stafforis_superuserset to True for authorization Which means, anyone, any user on our project can initiate login to the admin site but won't get access since other users
is_staffandis_superuserare set to False-> python manage.py createsuperuser Username (leave blank to use 'djangotherightway'): admin Email address: admin@example.com Password: Password (again): Superuser created successfully.
login to Django Admin Site
- So, we completed our core process for working out with Django Admin, we now need a URL through which we can access our Admin Site
Register Admin urls to our
urls.pyfrom django.contrib import admin from django.urls import path urlpatterns = [ path('admin/', admin.site.urls), ]- Now, we can access our admin site through /admin/ url
- I suggest to change this from
/admin/to something unguessable, so as to prevent users from bruteforcing this page or accessing this page. In production environment, i usually disable this url pathBy default, when creating a project using
django-admin startproject [project]command, Django will automatically do this for us Run your Django server using
python manage.py runserverand navigate to/admin/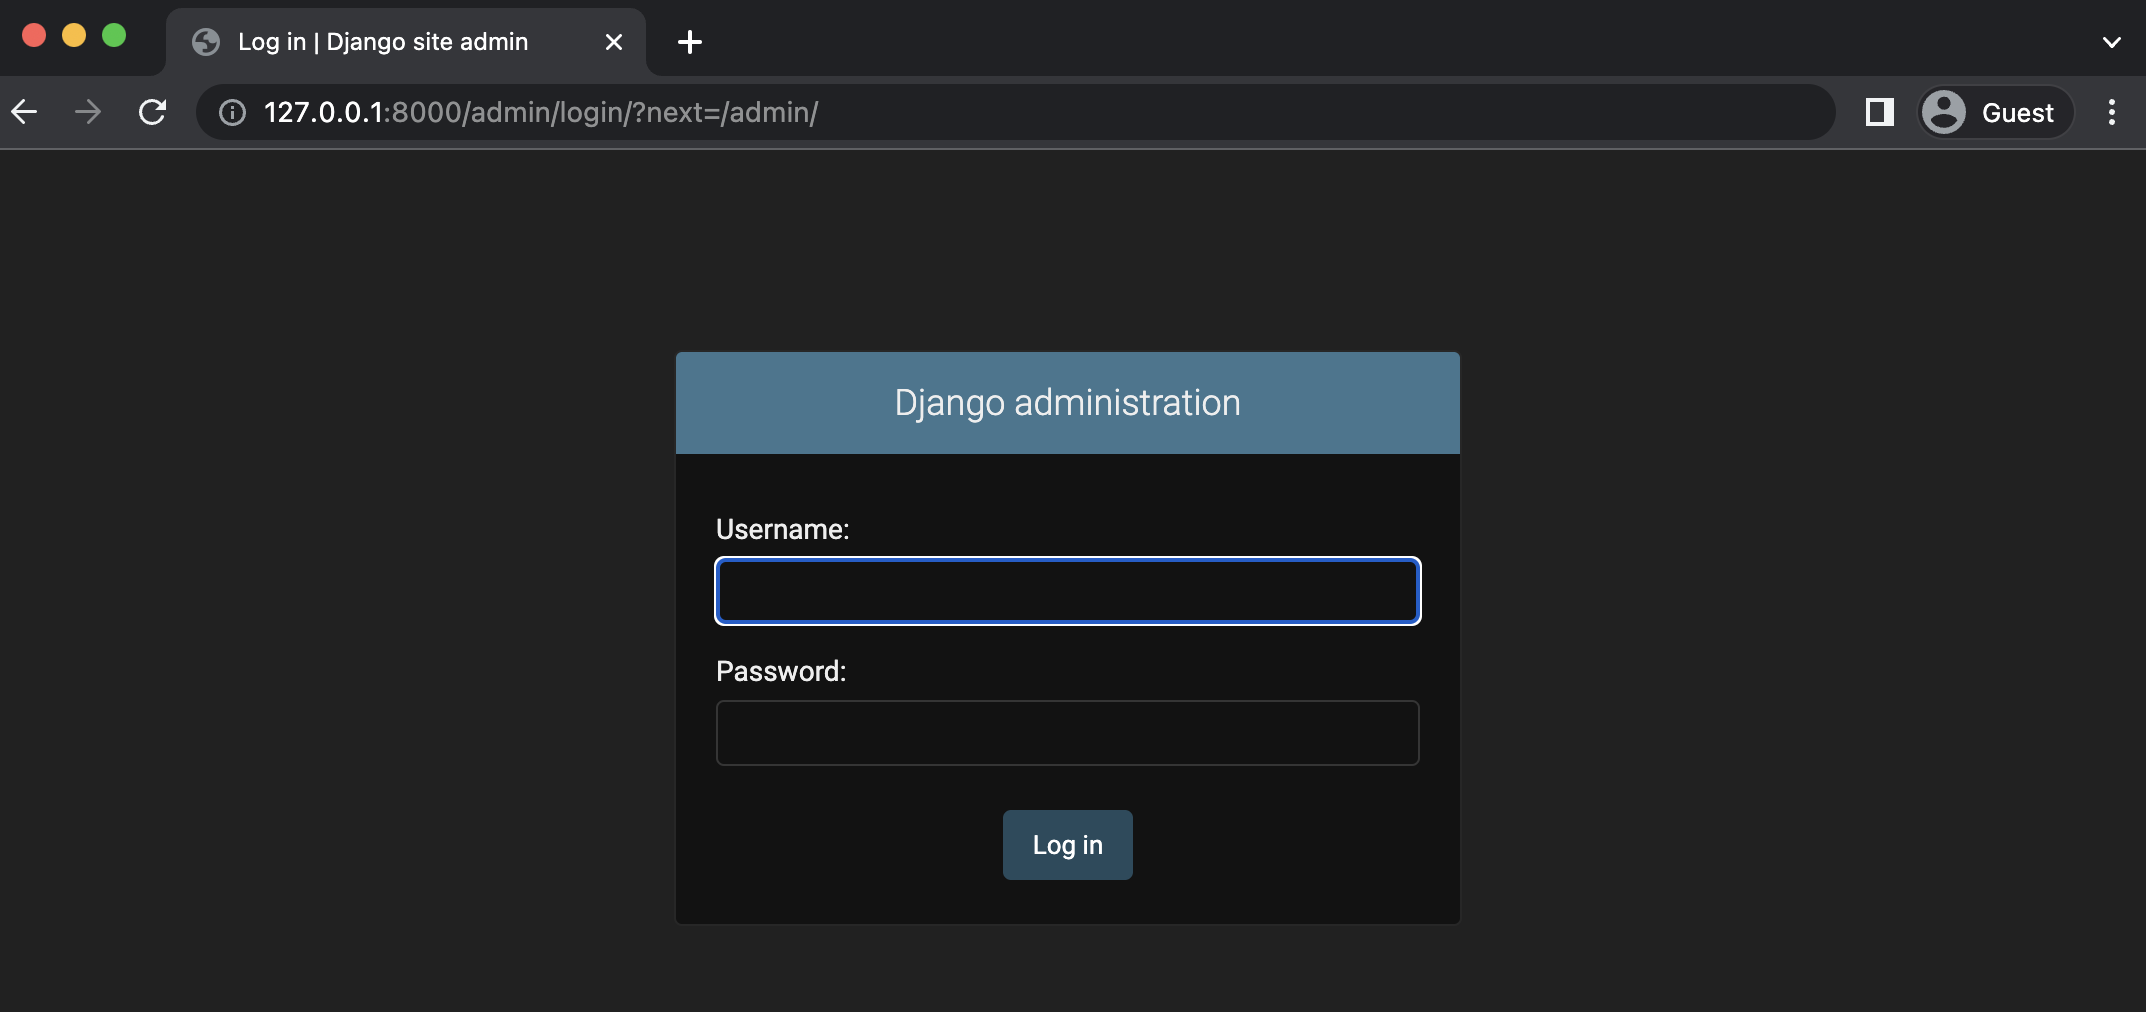
Now, login using the credentials we just created on Step-3, and you will be able to see the model we registered on Step-2
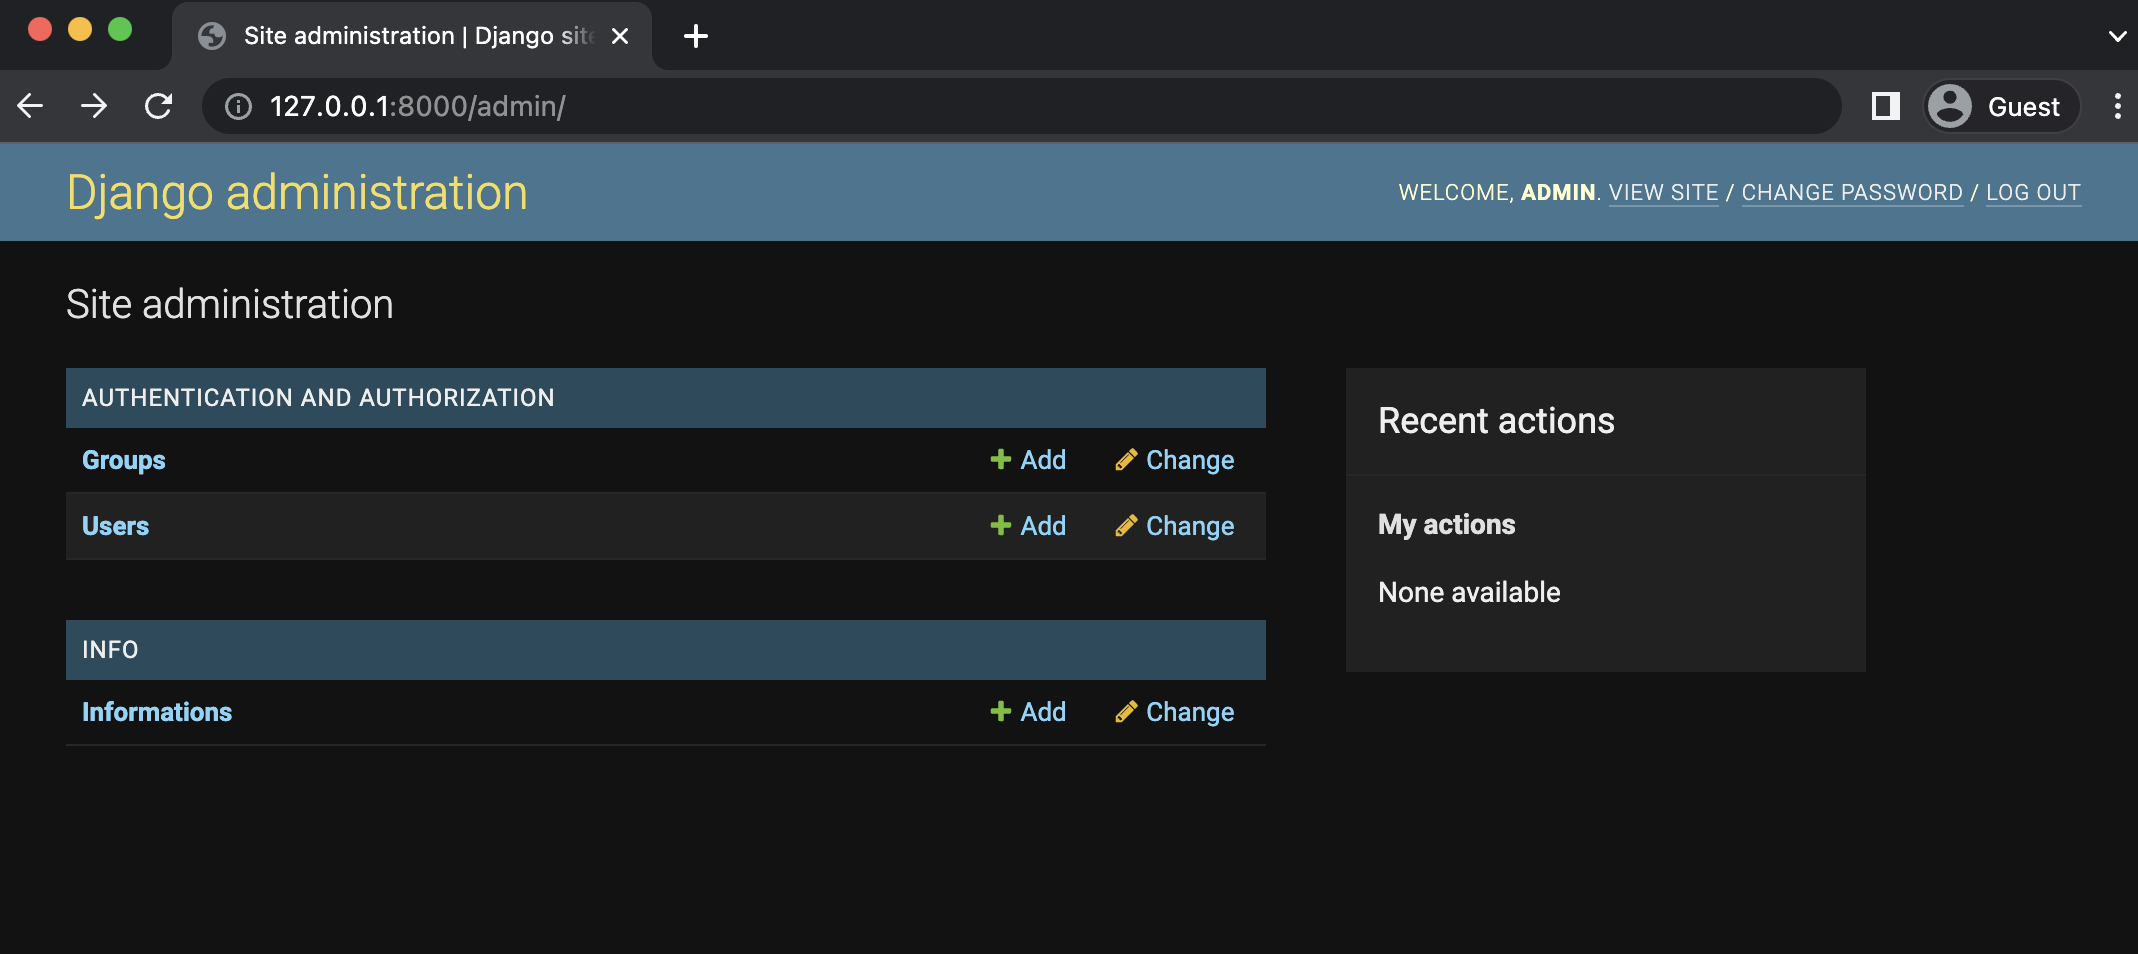
You can now, perform CRUD operations to your models, like add a new object/row, view all objects/rows, update and delete
You may see that
GroupsandUsersmodels are already registered on Django admin through we didn't do it manually. This is because thisAuthapp has already registered those models on itsadmin.pyfile. You can see the code on github here
Customizing Django Admin Site
Django admin site is super customizable, but we will see some basics so that you can get some idea about its customizations.
Customizing Admin view for models can be done through admin.ModelAdmin class. We basically create a class using/subclassing admin.ModelAdmin and then tell Django admin to use this custom ModelAdmin while registering a model
Customize Table display field
- When you see the table page for your models like from the above example, you will see something like this (assuming you have created two records/objects)
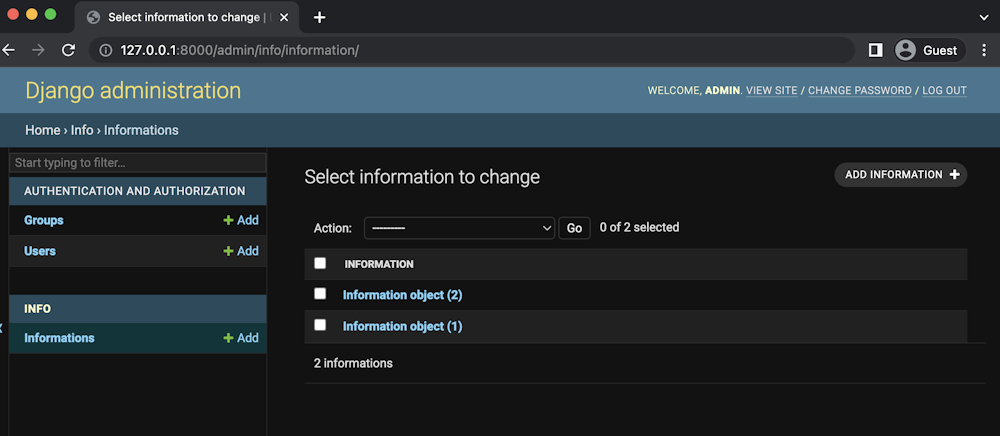
This table view doesn't look nice, so lets add some columns/fields on this table view using
list_displayattributes onadmin.ModelAdmin# on your admin.py from django.contrib import admin from .models import Information class InformationAdmin(admin.ModelAdmin): list_display = ('name', 'date_of_birth', 'salary') admin.site.register(Information, InformationAdmin)- Now, save the changes and run your server, you will see the table now has name, date_of_birth and salary fields
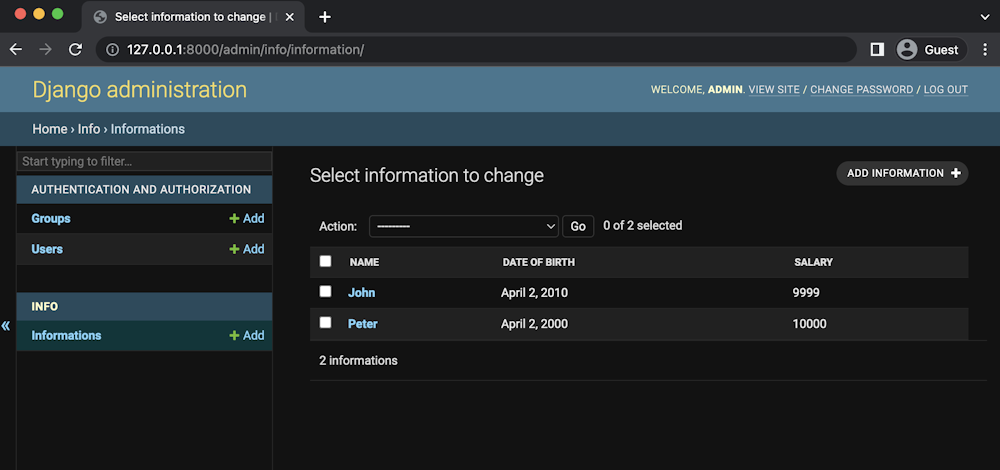
- When you see the table page for your models like from the above example, you will see something like this (assuming you have created two records/objects)
Add custom fields to table List Display
Let's create up
agefield obtained fromdate_of_birthand display it on the list display table fieldsfrom django.contrib import admin from .models import Information class InformationAdmin(admin.ModelAdmin): list_display = ('name', 'date_of_birth', 'salary', 'age') @admin.display() def age(self, obj): # this is rough implementation of finding # out age from date of birth, so as to keep # this example as easy as possible from datetime import datetime current_year = datetime.today().year born_year = obj.date_of_birth.year return current_year - born_year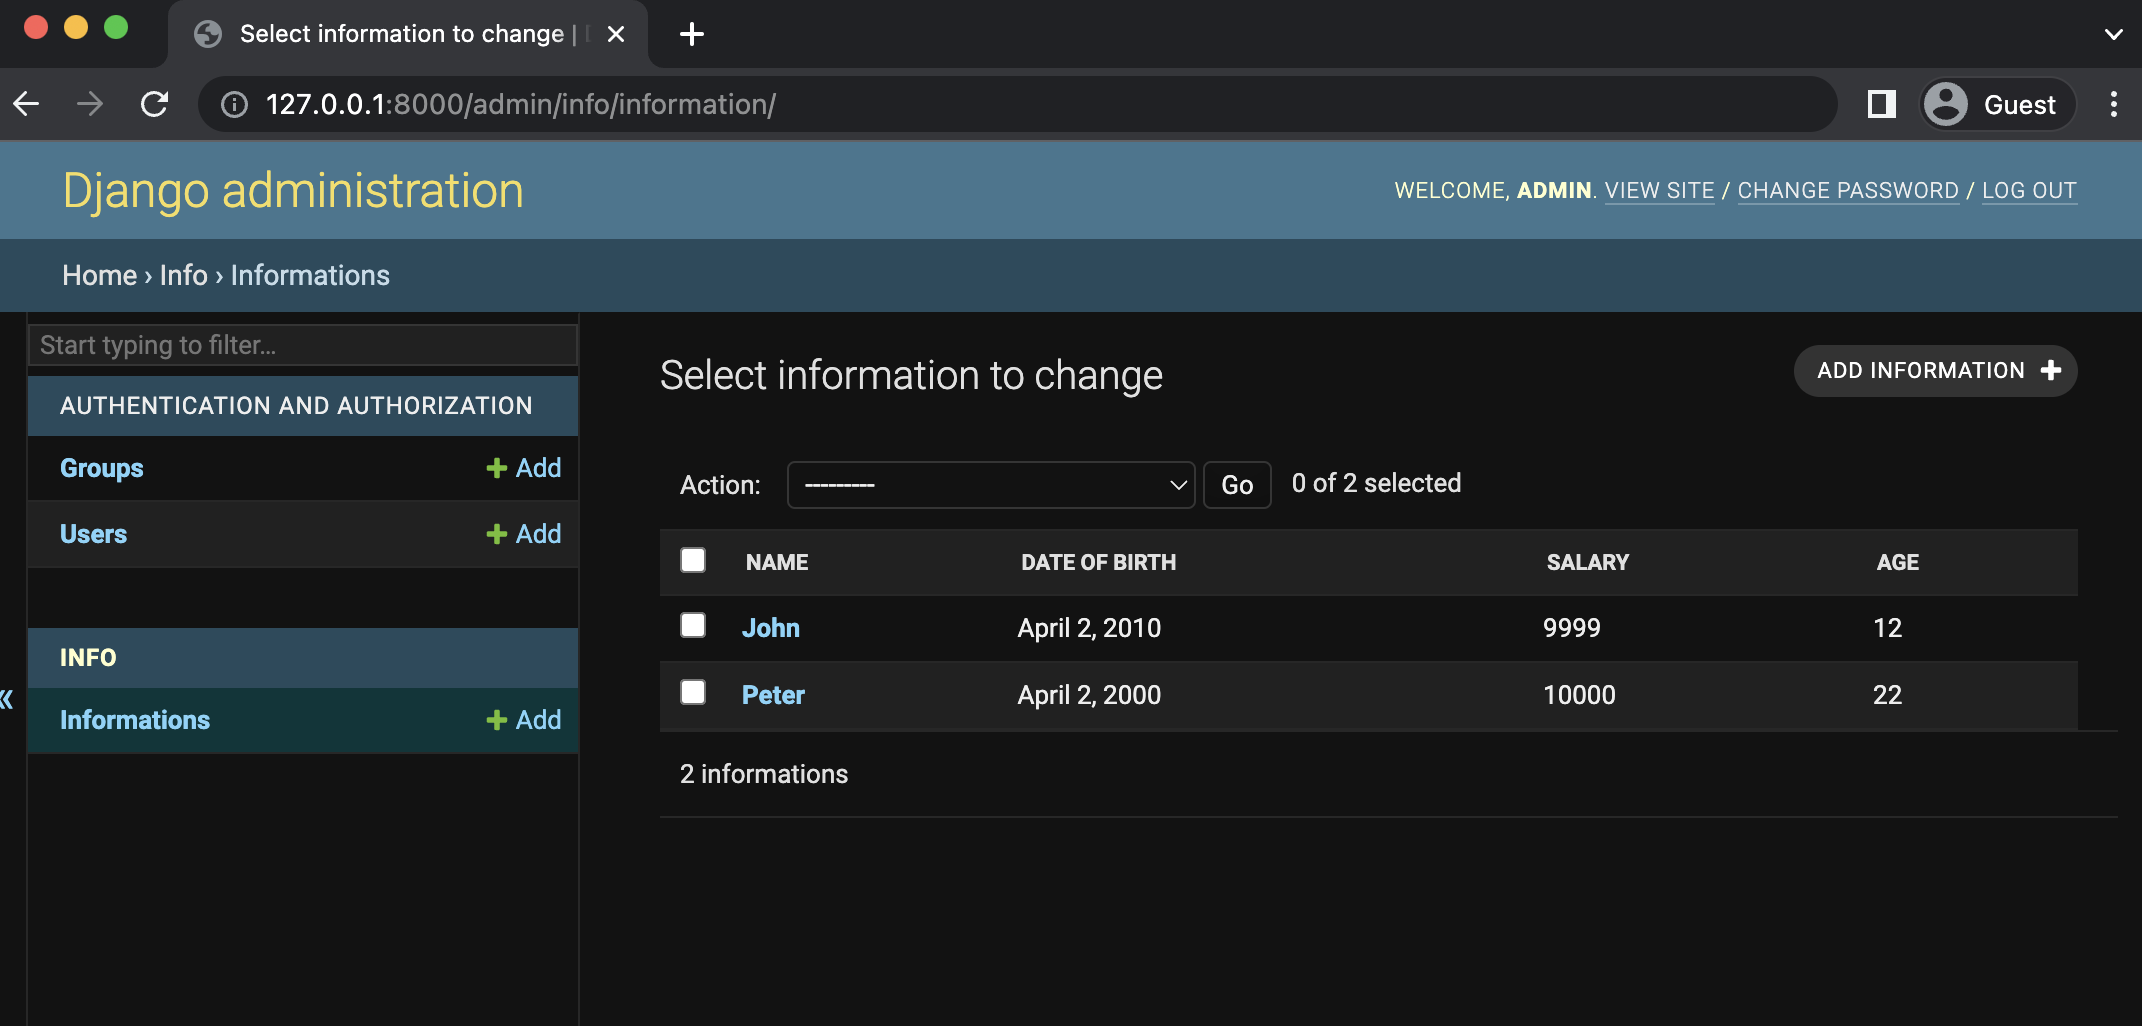
Adding filters
We can use list_filters attribute to set filter fields
  from django.contrib import admin
  from .models import Information

  class InformationAdmin(admin.ModelAdmin):
      list_filters=['date_of_birth']

  admin.site.register(Information,InformationAdmin)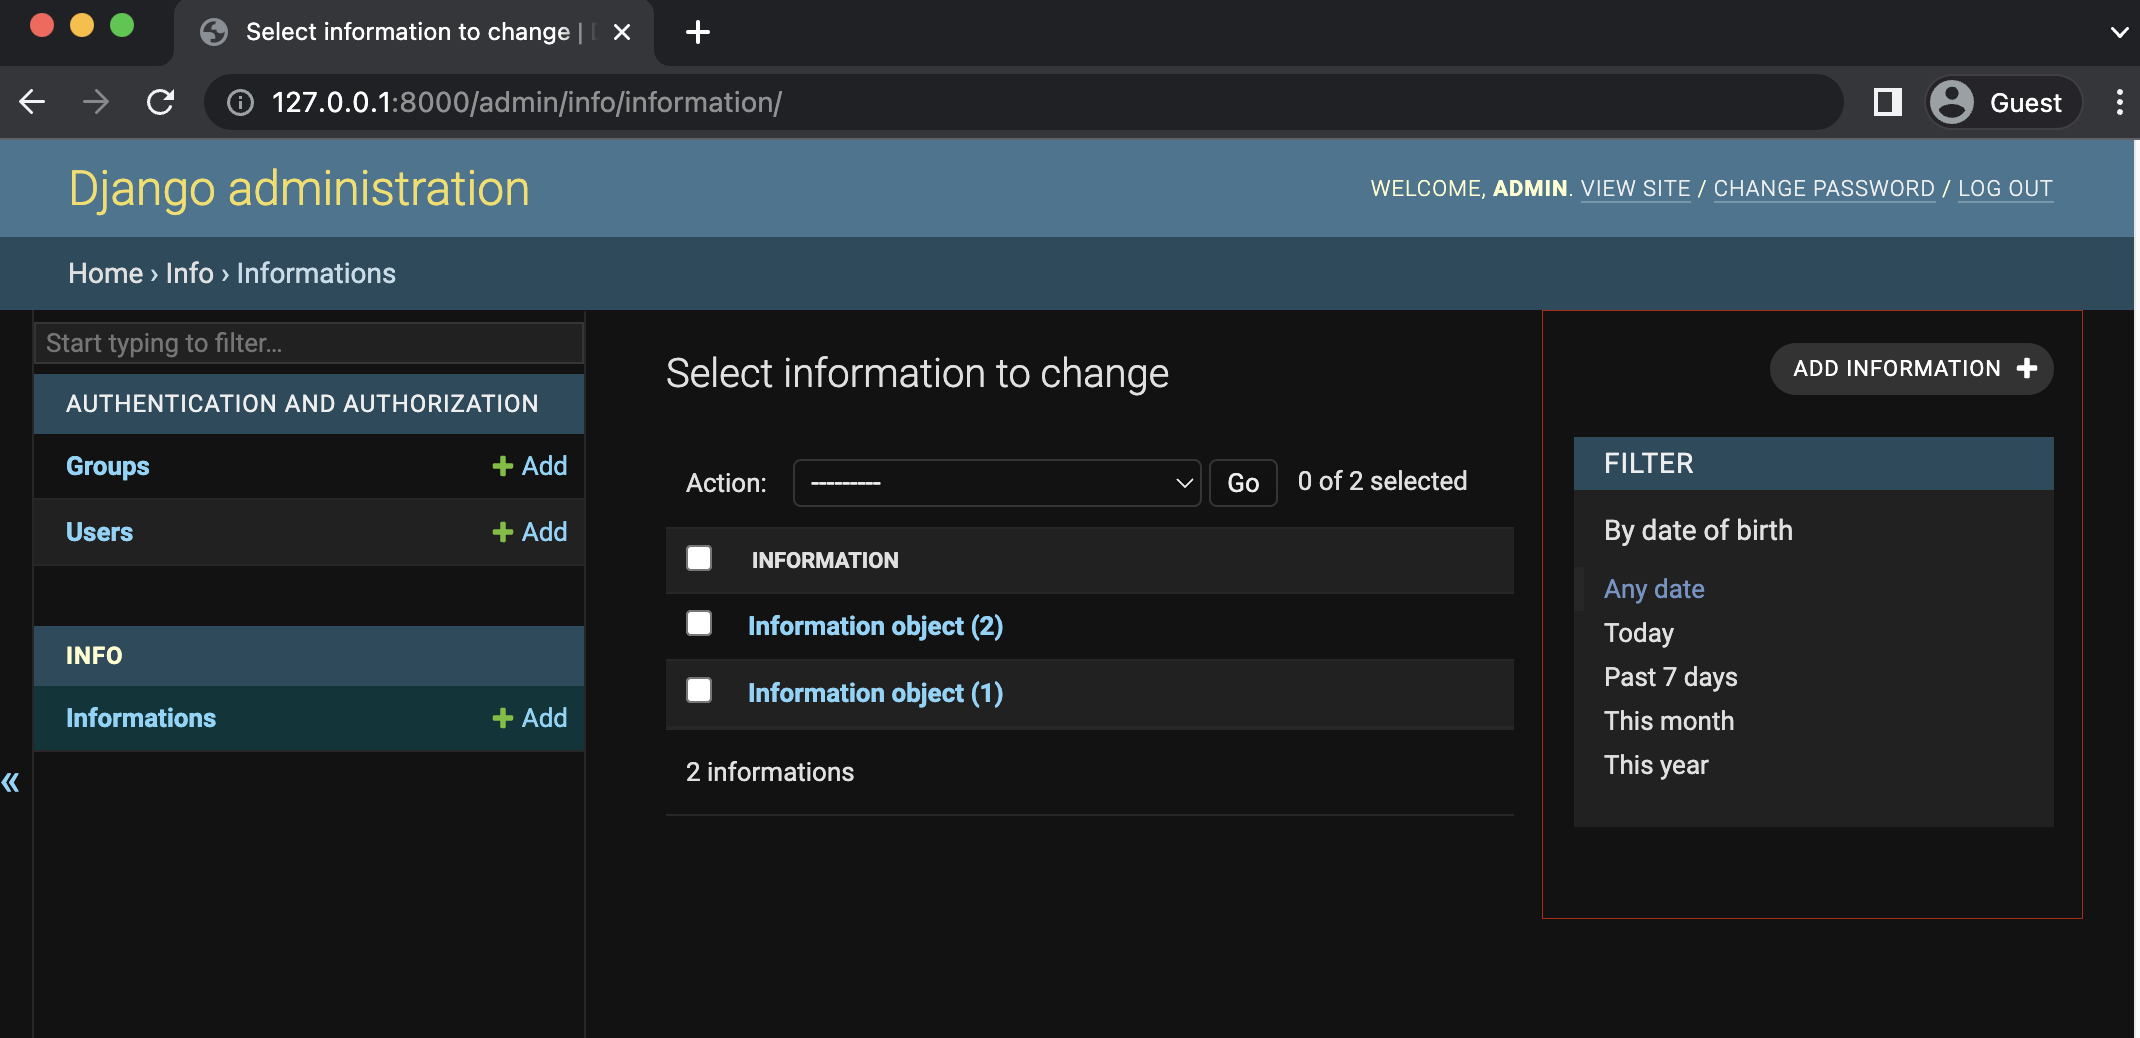
These were all basics things that we can do with Django Admin interface, but there are much more advance customizations available to use.
If i should write more on advanced Customization, let me know in comments.
Comments
Join the discussionNice article! How to add a search field?
You can add search field using search_fields attribute on your admin.ModelAdmin class. Full code will look like this
class InformationAdmin(admin.ModelAdmin):
    list_filter = ['date_of_birth']
    search_fields = ['name']

Learn
This series will cover the core concepts on web application development using Django, from basic installation to user authentications and some core concepts. Status: 9/14 published ✅