Django Setup, Architecture and Hello World

Installing python
First of all, Python is required. Python is high level, interpreted general purpose programming language.
Install Python on your system from Official Python Download
We will not cover in depth about python in this series, but let me know if i should (Will try to cover some basics in future updates)
Database Setup
As as web programmer, we will need some sort of database for persistant storage. Some might call, we could just use some sorts of caching for a small specific purpose web application but we will require a database sooner or later in the project.
The good news is, we can skip this for now because Python already includes implementation of a lightweight database called SQLite.
You can know more about this File based database from https://www.sqlite.org/index.html.
To learn about the Python API for SQLite DB go to https://docs.python.org/3/library/sqlite3.html. This includes tutorials to create a SQLite database and perform some database operations.
Don't worry for now about Database installation(MYSQL,POSTGRES,ORACLE) for Django. We will learn about it in another chapter of this series.
Installing Django
The easiest way to install django is through pip. pip is package installer for Python. If you are using python>=3.4 then pip is automatically installed. Learn more about pip from Wikipedia).
- from your terminal
pip install django - Confirm installation from pip
pip list[on the terminal] - Django installation will make django-admin command line utility available in your shell.
django-admin[on the terminal] to check if its working
If everything worked fine in this steps, then we can be sure Django has been successfully installed, but we can confirm this installation from import statements as well.
On the Python shell [not on the terminal directly] i.e: Shell that opens after you type python or python3 according to your installation on the system do the following. If this runs without a problem, we can confirm that our Python interpreter can see the installed Django
import django
django.get_version()
Django
Creating a Django Project
For the sake of this series, we will assume a Project containing some specific features. Lets assume a project called Meme. This project simply allows user to upload Meme on the web application.
django-admin startproject meme
This will create a Django Project pre-configured to run instantly, which will create the following folders and files.
.
├── manage.py
└── meme
    ├── __init__.py
    ├── asgi.py
    ├── settings.py
    ├── urls.py
    └── wsgi.py

1 directory, 6 files
Django comes up with pre build/pre configured server for development purpose. You can run your development server using python manage.py runserver. This will run your django server on 8000 port on default. You can always configure this according to your need. When navigating to the django deployed address, which is usually http://127.0.0.1:8000/ you will see the output
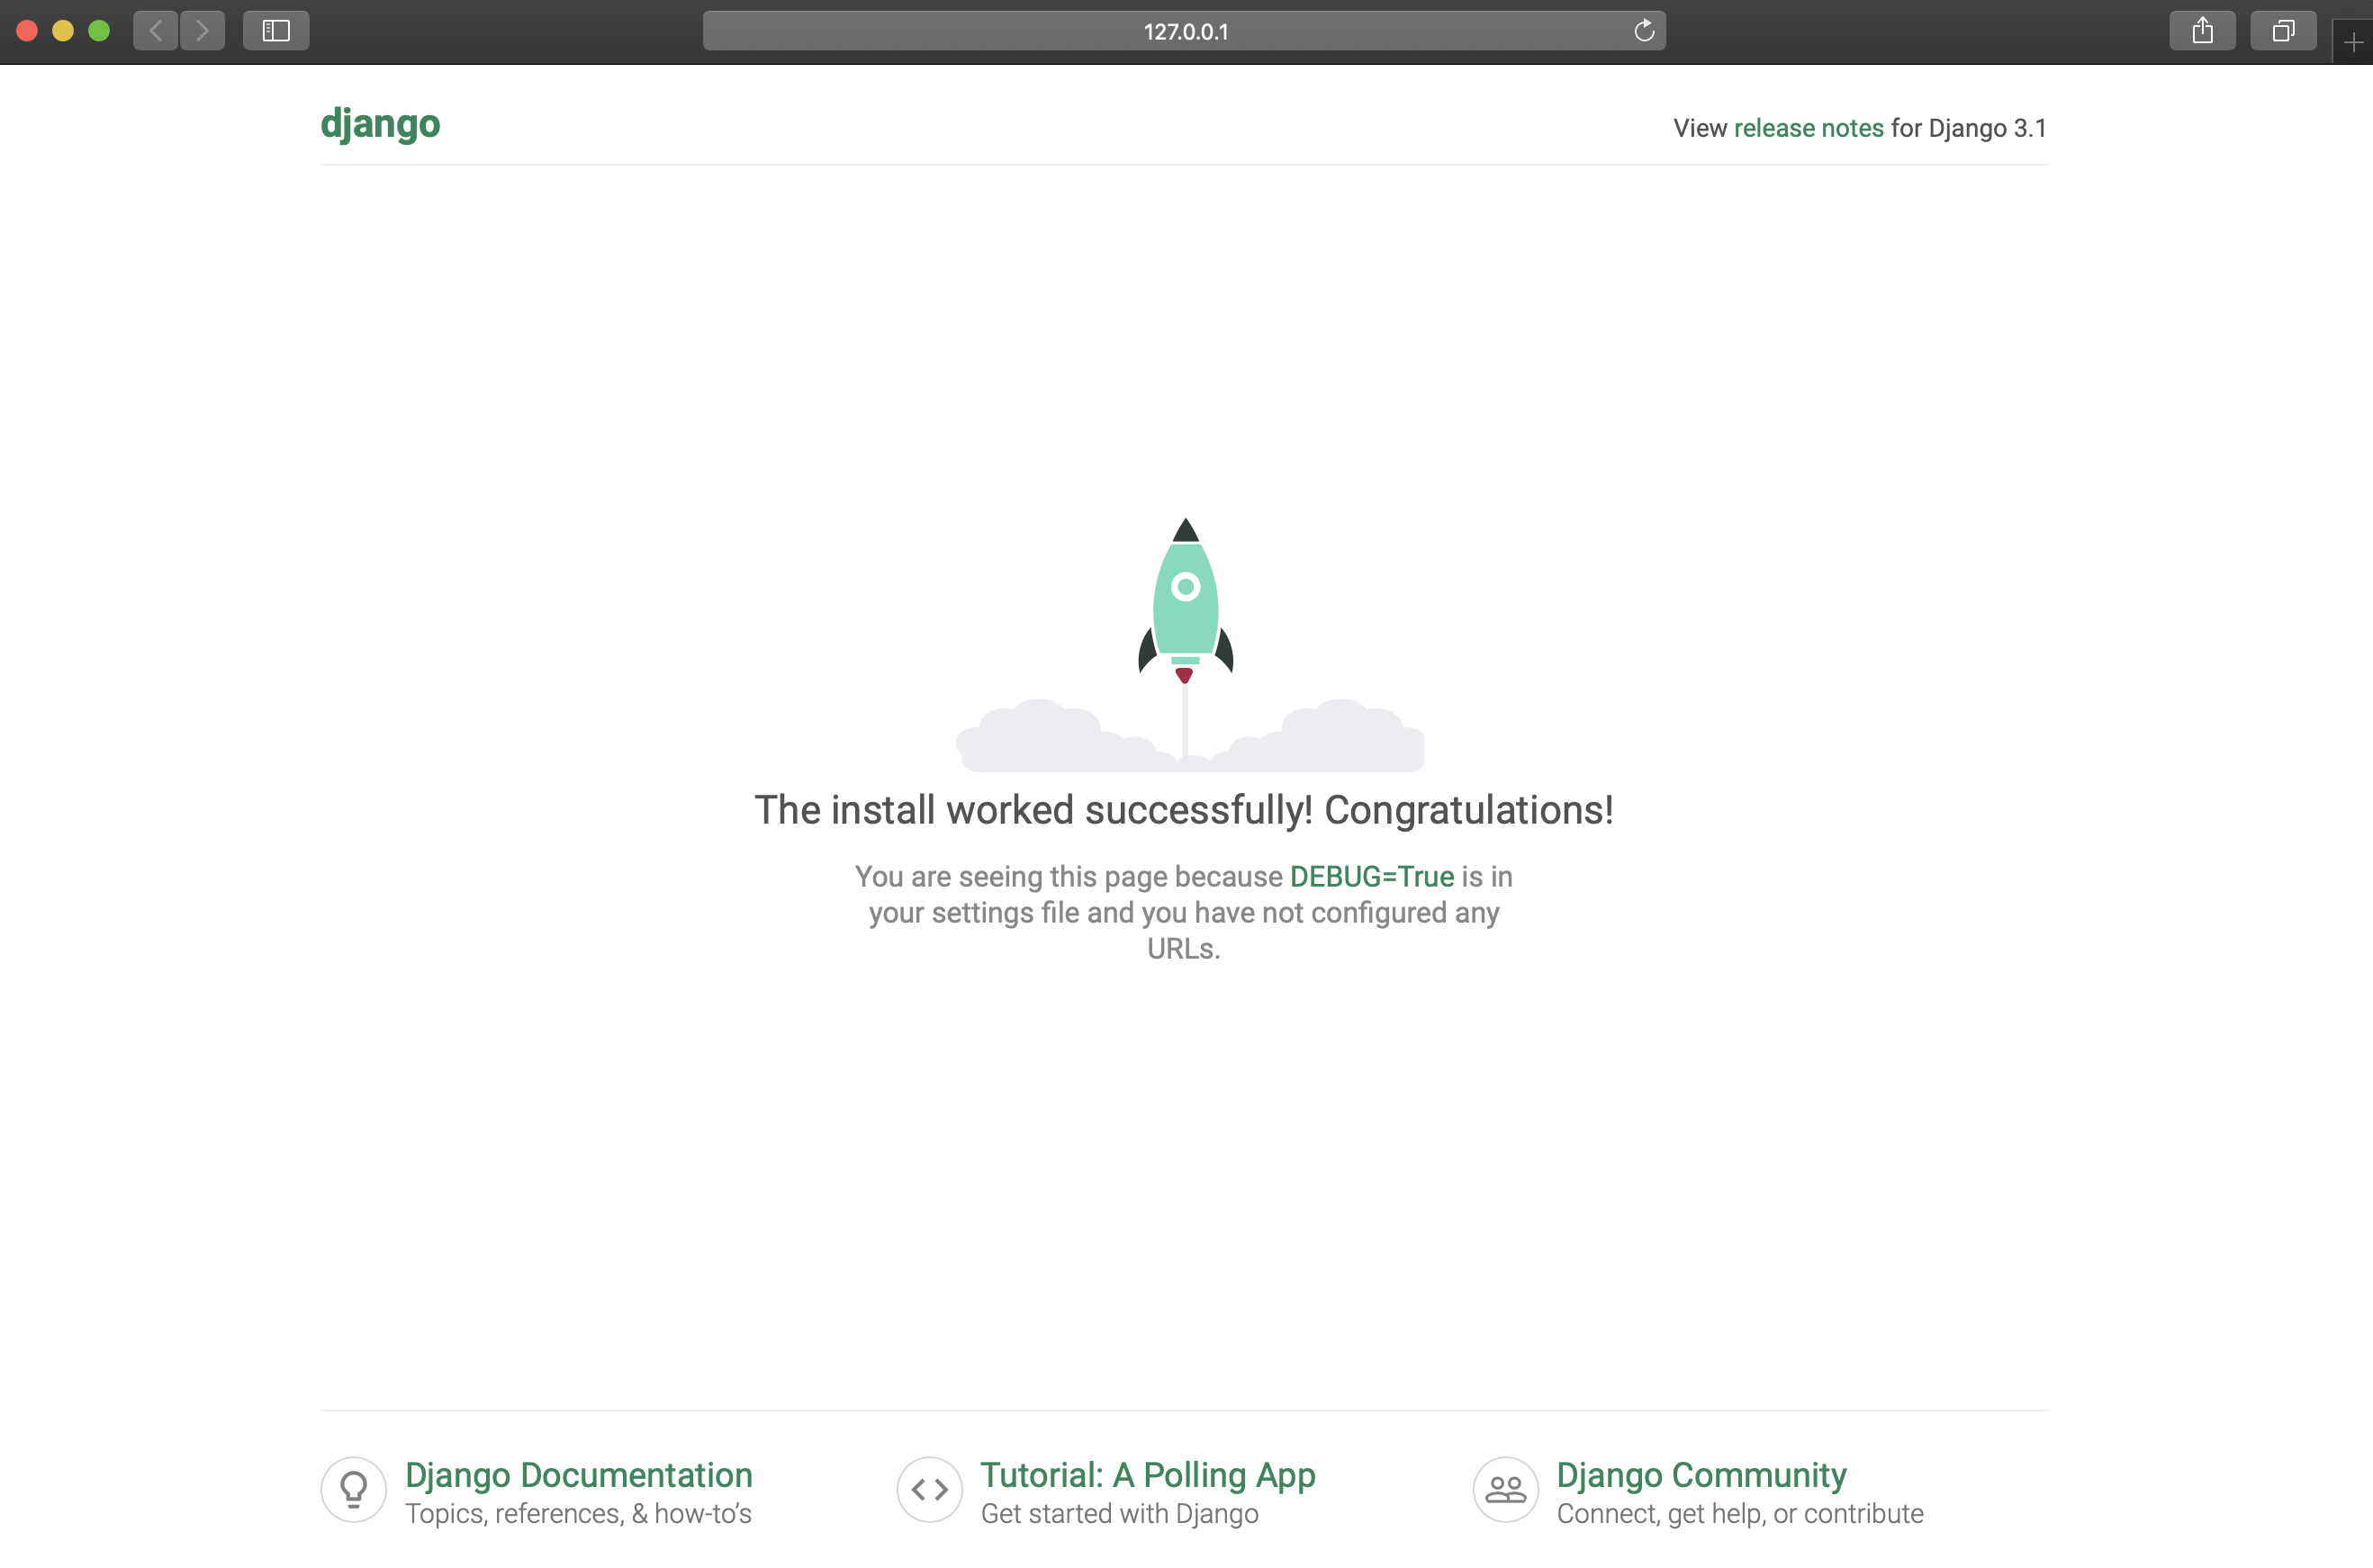
Congrats !!! Your Django is Up and Running
Django Apps
Django app is a Python Package which contains some features which can be reused in another project as well.
For an example. (Completely Imaginary example)
- Facebook is a project and (fb chat, fb groups, fb games) can be called application of this project.
- Instagram is a project and (stories, IGTV) can be called application of this project.
So, a Django app is a smaller unit of the Django project which consist of some specific feature set. Trust me, dividing features under smaller apps is lot more effective in terms of readability and reusability.
Creating Django Apps
python manage.py startapp [NAME_OF_APP]
so, in our case lets create a app named world in our existing project, just to demonstrate some hello world
python manage.py startapp world This would create some new files and folders in our project as follows,
.
├── manage.py
├── meme
│   ├── __init__.py
│   ├── asgi.py
│   ├── settings.py
│   ├── urls.py
│   └── wsgi.py
└── world
    ├── __init__.py
    ├── admin.py
    ├── apps.py
    ├── migrations
    │   └── __init__.py
    ├── models.py
    ├── tests.py
    └── views.py

3 directories, 13 files
After this is done, we need a last thing to be done so that our app is recognized by the Django Project. So, head over to meme/settings.py and add your newly created django app to the list of installed appps
INSTALLED_APPS = [
    'django.contrib.admin',
    'django.contrib.auth',
    'django.contrib.contenttypes',
    'django.contrib.sessions',
    'django.contrib.messages',
    'django.contrib.staticfiles',

    'world'  # ===>> Add your newly created app here
]
Don't worry about the apps already being registered in the INSTALLED_APPS. Those apps are the most useful apps django has provided to us. For an example: django.contrib.auth provides us DB table,signup,signin features for our Users under the hood. This is actually what peoples mean to say when they talk about Rapid Application Development in Django. We can always customize this app according to our need, but trust me a MVC or POC project including some Production application would never need to customize these apps. This works perfectly !!!
Creating our first view
Let's assume a URL /hi/ would return a response Hello World. i.e: when users navigates to http://127.0.0.1:8000/hi/ would output hello world
Open file, world/views.py
from django.http import HttpResponse


# create a function based view
# First parameter is a Django Request Object,
#      so for convention we write request.
#      We could have written just r or abcd instead of request in func parameter
def hi_view(request):
    response = HttpResponse()  # create a Response Object
    response.content = "Hello world"
    return response

    # or this could be written as
    # return HttpResponse("hello world")
So, we created our first view. We now need a URL to be assigned to this view. i.e /hi/ would point to def hi_view(request):....
Lets update our URLs from meme/urls.py. This is also our root url configuration. i.e: Django looks this file for URL configs
You can view your root url config file registered in django from
ROOT_URLCONFsettings insidememe/settings.py
from django.contrib import admin
from django.urls import path

# import our view function which is in world app
from world.views import hi_view

urlpatterns = [
    path('admin/', admin.site.urls),

    # create a URL path /hi/
    path('hi/', hi_view)
]
But wait, you can see a URL path /admin/ already being registered when we created our project. Dont worry about it for now. We will see about it in upcoming part in this series.
So now, lets run our server and head over to http://127.0.0.1:8000/hi/. We can see the page displaying hello world which came from hi_view function
Lets add some HTML into our output so that we can display hello world formatted inside proper HTML tag
from django.http import HttpResponse


def hi_view(request):
    response = """
    <html>
        <body>
            <h1>Hello world</h1>
        </body>
    </html>
    """
    return HttpResponse(response)
We might get confused looking this code thinking we will write every HTML inside this function. But in later section of this series we will learn to manage HTML templates of our project. So dont get confused for now.
manage.py
We used manage.py to run our server, create new apps, but what exactly is this manage.py ?
manage.py is a command line utility provided by Django to manage django project. We provide commands to the manage.py like runserver, startapp, shell and it runs the command script. The good news is we can create our own custom management commands as well.
If you want to navigate and deep dive, Have a look inside, runserver code from Django Github Runserver Command
run
python manage.pyto see all available commands on your project